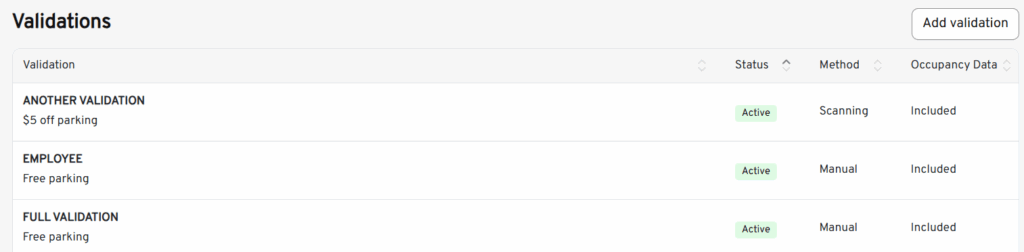
ZipPark Validations are discounts applied to parking fees during events. Each parking operator can have their own set of validations, accessible only to them.
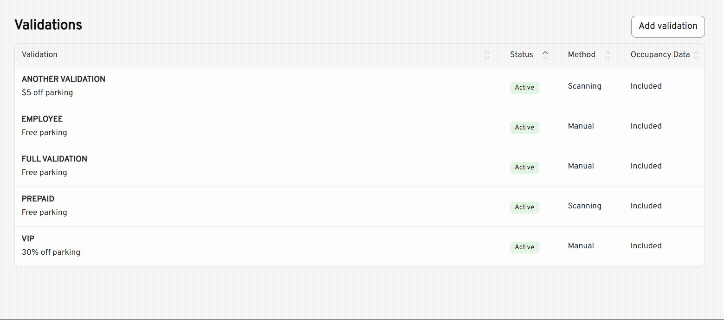
In the Portal, Validations show an overview of their current status along with the selected method to apply them, and whether they are included or excluded from Occupancy Data.
Creating a Validation #
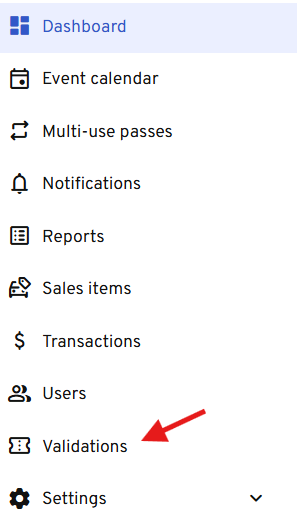
- To view available validations or create a new one, navigate to the Validation settings on the left-hand side menu.
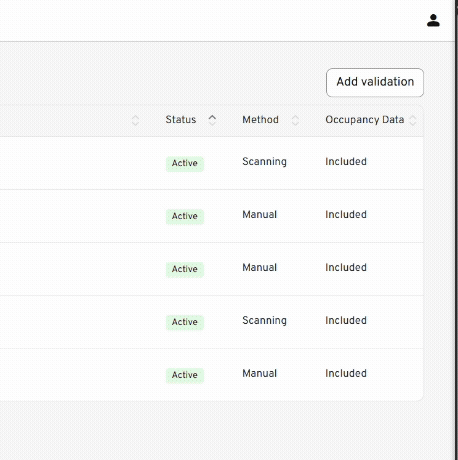
- Click the “Add Validation” button on the right-hand side to open the validation creation tab.
- Configure the future validation according to desired standards:
- Name: Displayed on reports and in the Android app.
- Active: Can be turned off to prevent selection.
- Validation Method: Determines if the validation is applied manually or through a barcode scan, showing a check option for both: Manually or Scanning.
- Validation Type:
- $ Discount: Reduces the parking fee by a dollar amount.
- % Discount: Reduces the parking fee by a percentage to dollar amount.
- Flat: Sets the fee to a specified amount.
- Full (No Charge): Sets the fee to $0.00
- Exclude from Event Stats: If enabled, the transaction won’t appear in the Event Statistics report, useful for non-space-taking transactions like turnarounds.
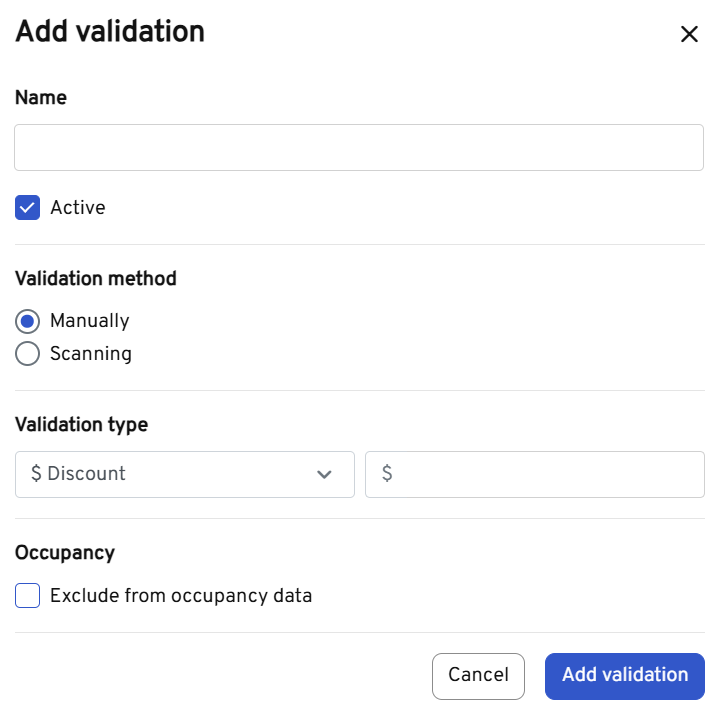
- To save the newly configured validation, click the blue Add Validation button below.

Editing Validations #
To edit an existing validation, select it from the list. The validation editing tab will open, displaying the same fields as when creating a validation. Once your changes are complete, click the blue Save button at the bottom.
Alternatively, you can delete a validation by clicking the Delete Validation button on the left side.
