The Point of Sale (POS) system enables cash and coin payments. This POS system includes the components below:
- Cash drawer
- ELO tablet and stand
- Printer
- Scanner
A POS integration offers an improved ability to account for transactions. Each transaction can be tracked as an individual line in the Shift Log, which is reflected in the Shift Report. Below are some key features of a POS integration:
- Ability for employees to go on break
- Ability to log in/out and start/end shifts
- Accept credit card payments
- Accept cash and coin payments
- Add validations via onscreen UI
- Cash drawer reporting
- Create a new ticket and send it to a lane as a lost ticket
- Lookup a ticket
- Print Ticket/Receipts
LOG IN #
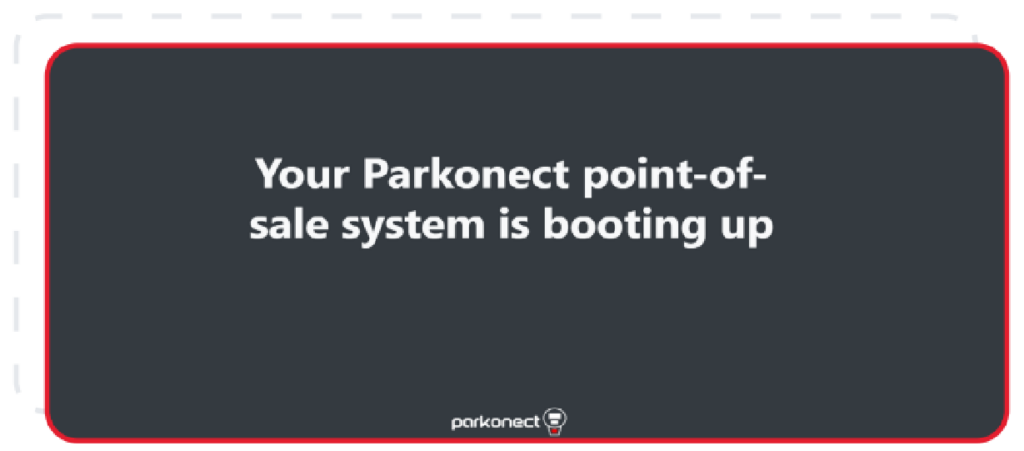
When you turn on the tablet, the screen below confirms that your POS integration is turning on.
After the POS is booted up:
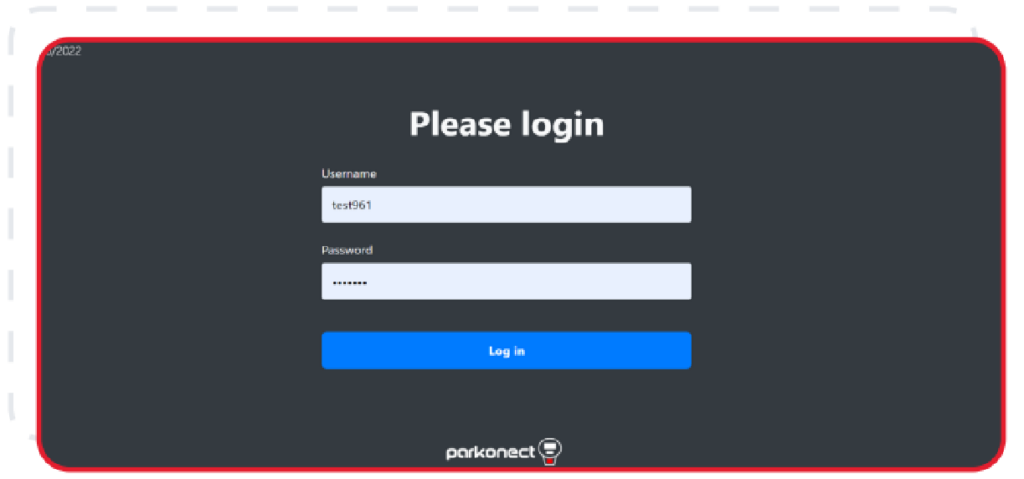
- Enter your assigned log in credentials.
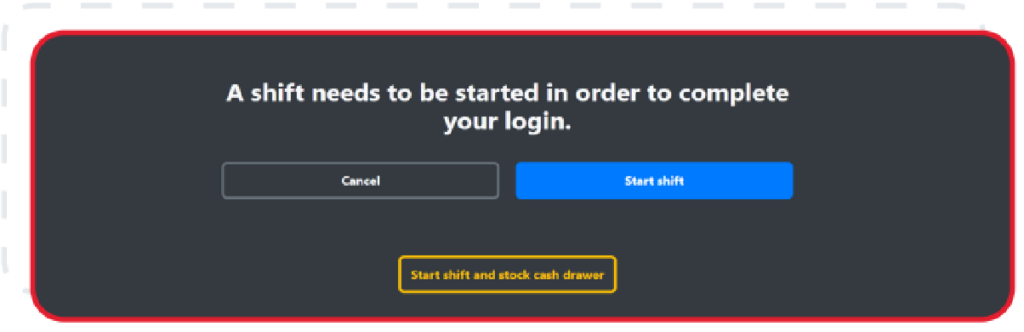
- If a shift is continuing, the Search screen appears. If a shift is beginning, tap one of the options below:
- Start shift
- Start shift and stock cash drawer: This opens the cash drawer.
PROCESS A TRANSACTION #
- Scan the customer’s ticket, or enter an entry credential like a barcode or license plate. If you scanned the customer’s ticket skip to step 4.
- Optional: Use the Apply Filter dropdown to refine the search by Entry Date or by Parker status (Open or Closed).
- Tap Search.
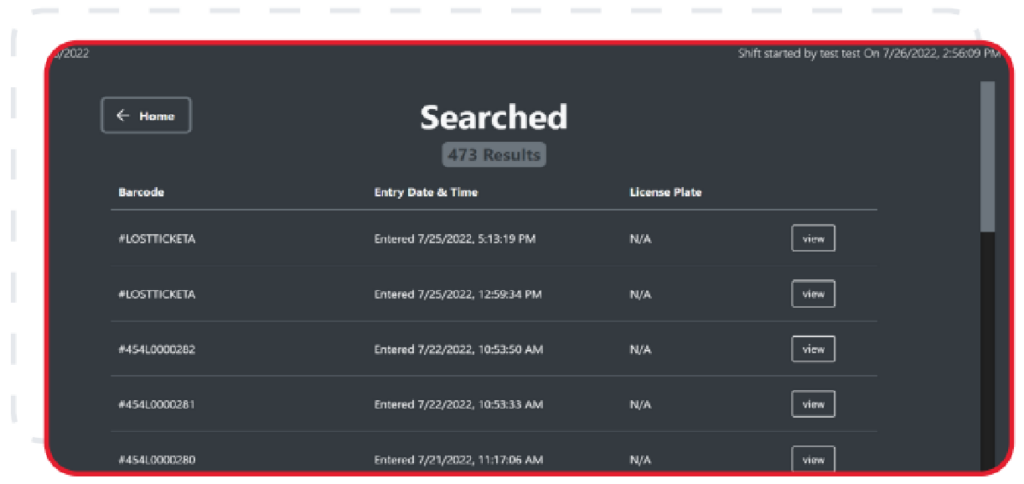
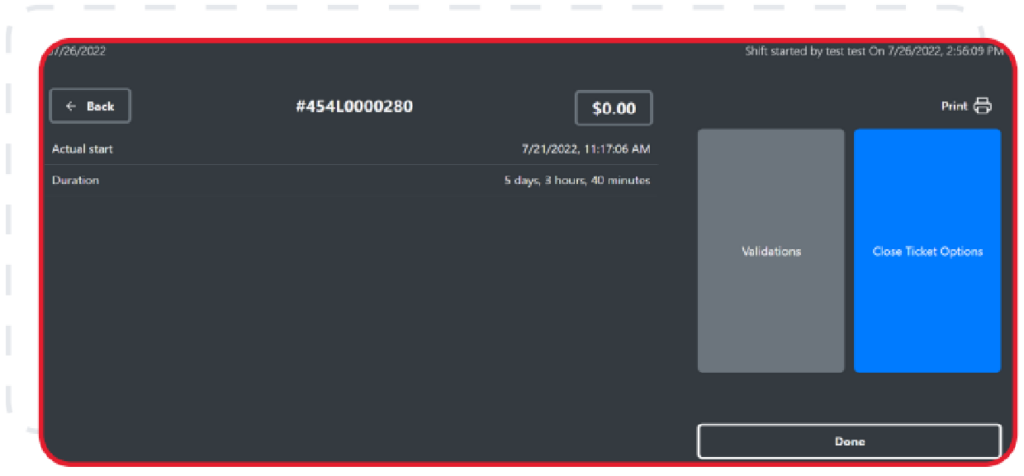
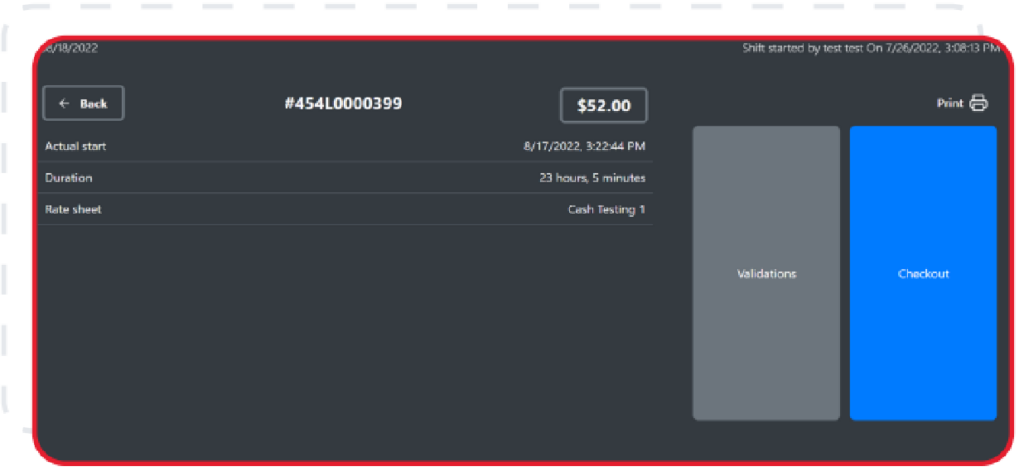
- Select the desired ticket. At this screen, you can validate, close the ticket, or checkout if there is an amount due. Use the following sections for guidance.
APPLY A VALIDATION #
The rules below apply to validations:
- Once the balance reaches zero dollars, the validation can’t be removed.
- Only validations that are able to be used are displayed. The POS has to be enabled in the portal in order for the Validation option to be displayed on the POS Screen.
- Payments can’t be split. All payments must be made with one form of payment.
To apply a validation to a selected ticket, follow the steps below:
- Choose the desired validation. In the example below, two types of validations are being offered.
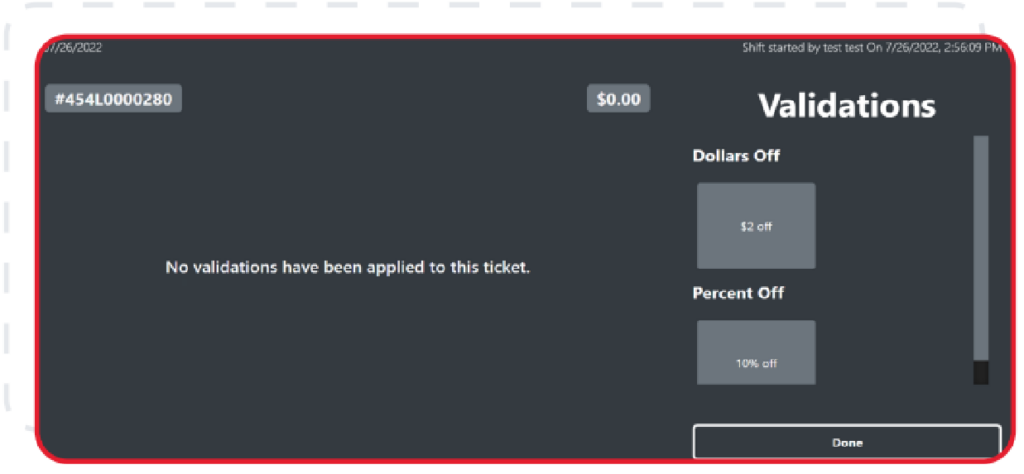
- Tap Done.
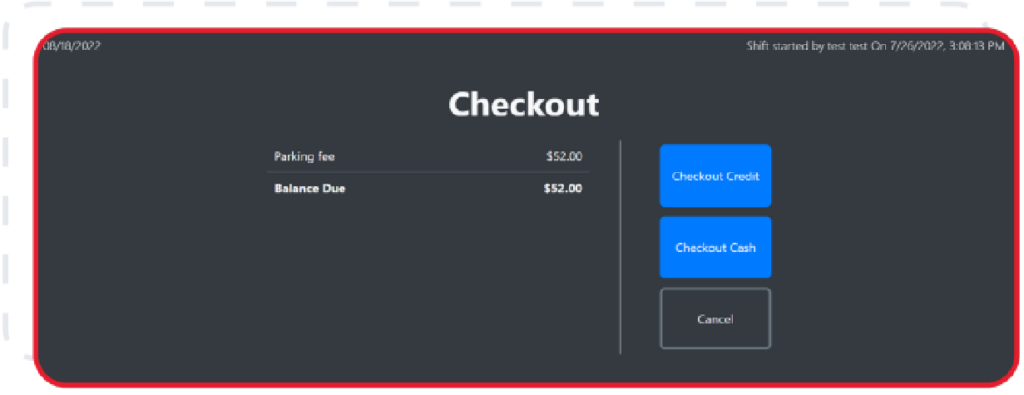
CHECKOUT #
To checkout, follow the steps below:
- Tap Checkout.
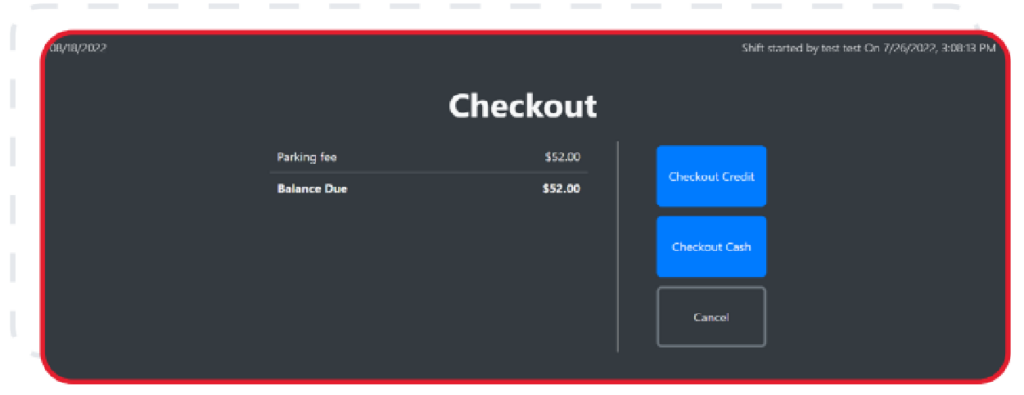
- Continue below based on the payment method:
- Cash
- Credit Card
Cash #
- Tap Checkout Cash.
- In the Enter Cash From Customer field, enter the cash amount the customer provides, then tap Next.

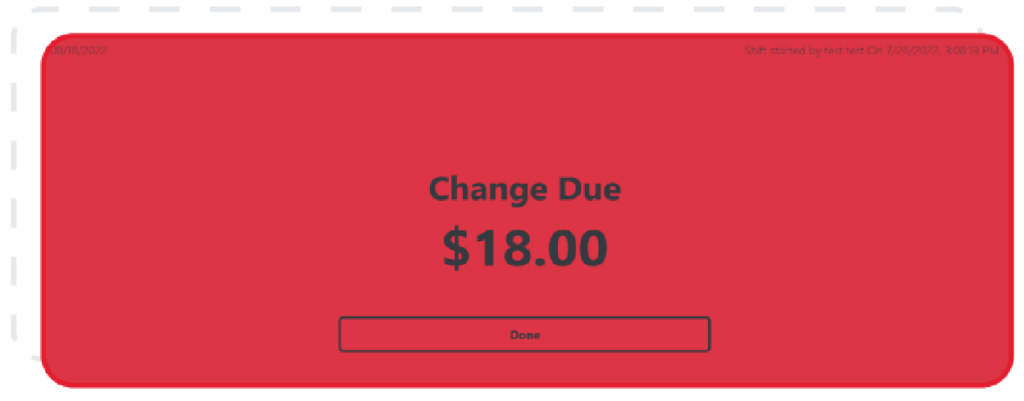
- At the Change Due screen, the amount due back to the customer is displayed. Provide the customer the change amount, then click Done.
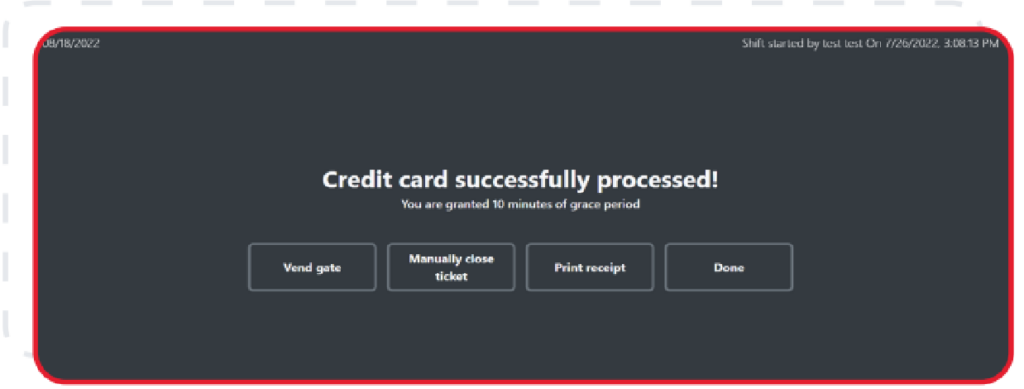
Credit Card #
- Tap Checkout Credit.
- The screen below appears, indicating for the customer to swipe their card.

- Once the card is swiped, the screen below appears.

- Choose one of the presented options to complete the transaction.
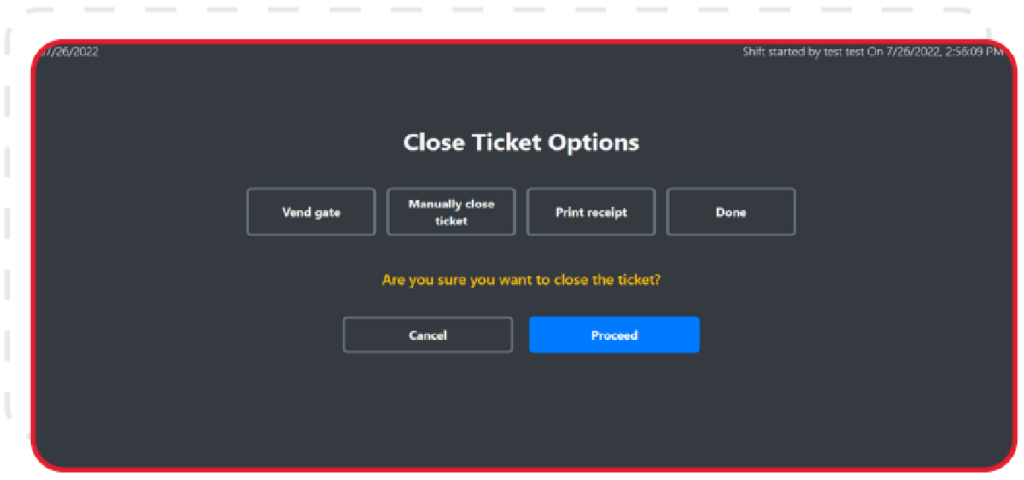
MANUALLY CLOSE A TICKET #
Tickets can only be closed manually if the balance owed is zero dollars. To manually close a selected ticket, follow the steps below:
- Tap Close Ticket Options.
- Choose the desired action from the choices presented on the screen.
- Tap Proceed to close the ticket.
PUSH A TICKET TO A LANE #
- In the Lane dropdown, select a lane to push a ticket to.
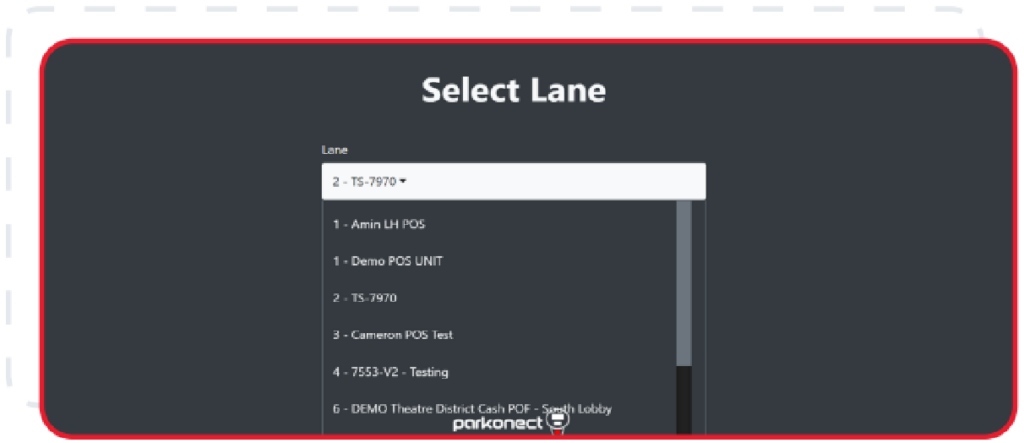
- Tap Send to Lane. If successful, the message below appears.

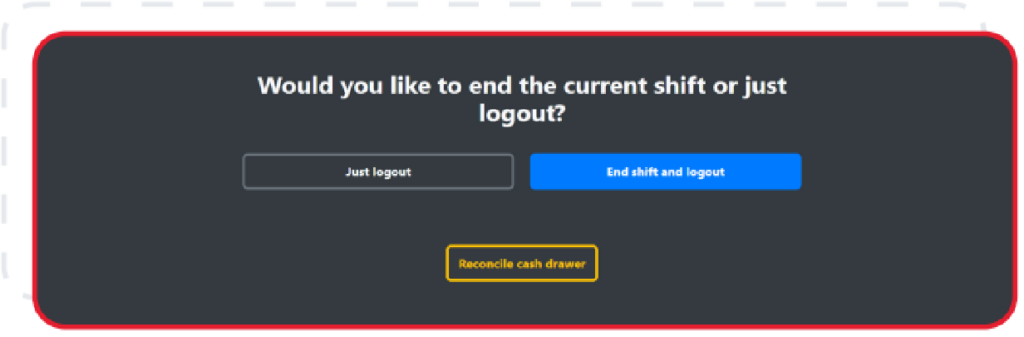
LOG OUT OR END A SHIFT #
The options below are available:
- Just logout: Use this option to log out an individual and continue operations. For example, this would be used to take a break, leave to assist a parker, or any other time the POS is unattended.
- End shift and logout: Use this option to end the shift and log out the previous individual.
- Reconcile cash drawer: Use this option to open the cash drawer.
SHIFT LOG #
The Shift Log is a log of actions that occurred during each shift. This log is pulled from the portal. Items like the ones below are outlined on individual lines for optimized analysis and record keeping.
- Cash drawer actions
- Cash payments
- Employee log in and log outs
- Shift timelines
To access the Shift Log, follow the steps below:
- In the Garage dropdown on the left, select the desired garage (if not already selected).
- In the garage status menu, tap the garage.
- Select Reports > Audit and Back Office.
- At the end of the row titled “POS Shift Log”, tap Run Report.
SHIFT REPORT #
The Shift Report is an overview of the POS system for the specified search criteria. This report gives the totals for those actions outlined in the Shift Log.
To access the Shift Report, follow the steps below:
- In the Garage dropdown on the left, select the desired garage (if not already selected).
- In the garage status menu, tap the garage.
- Select Reports > Audit and Back Office.
- At the end of the row titled “POS Shift Report”, tap Run Report.